Date posted: January 13, 2010
- Introduction to RC Transmitters
- Transmitter Binding and Model Memory
- Dual Rates and Exponential
- Delta Wing Mixing
– Download Transmitter Binding and Model Memory as PDF –
Part 2 of our Transmitter Series. Looking at what binding does, what model memory is used for, and examples with an mSR, foam flyer, Spektrum DX-6 and DX-7.
Here’s the video, and the article follows:
What’s Binding?
Binding is the process of linking your receiver and transmitter together. Each transmitter and receiver have their own unique identifier, like a social security number, except without the identity theft issues. We call this a GUID code – Global Unique Identification. The receiver will remember which transmitter it has been bound to, so that the next time you turn both on, the transmitter and receiver automatically set up the channels to communicate with each other. Rebinding the receiver to a different transmitter negates the previous binding.
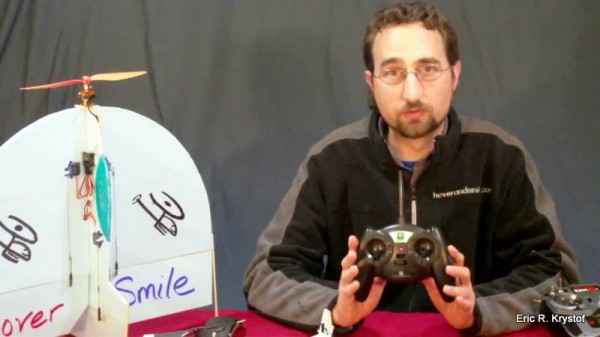
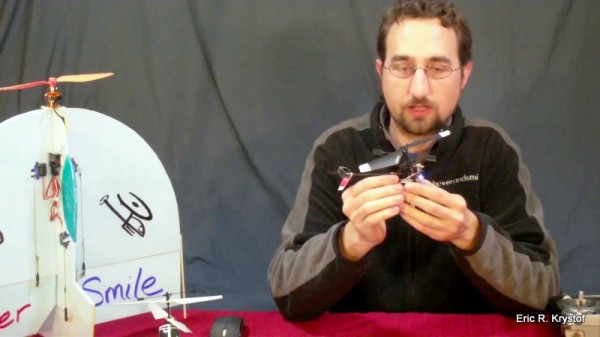
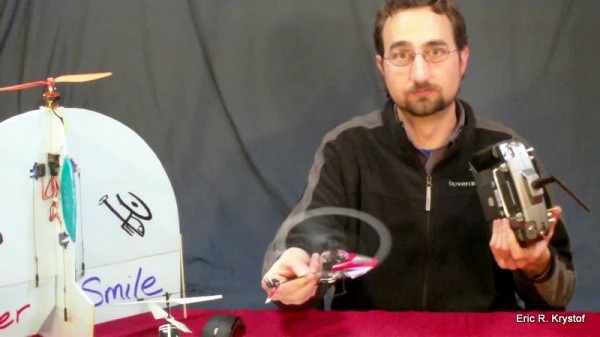
So, take a look at this stock transmitter that comes with an mSR or Park Zone Micro Mustang. It binds just like a Spektrum DX-6i, but it only has one memory slot to hold one receiver’s unique ID. This means if you wanted to use this transmitter on a different aircraft, you would have to rebind each time you swapped out your airplane or helicopter. It’s very possible however, to take this transmitter and say, bind it to your mCX, like I have here. This is the stock transmitter that came with a P-51D Micro Mustang, and by following the instructions on the back of the transmitter, I’ve bound it to my mCX.
This won’t work for an advanced 6 channel helicopter, but it does work for any of the craft that use the tiny 5-in-1 and similar receiver units that the Park Zone Vapor, mCX, mSR, and Micro Mustang share. So, in theory, you could buy one of those with a stock transmitter, and then purchase the rest without, and rebind each time, reset your trims, and then fly the craft of your choosing. Since you have to re-trim and rebind, however, the stock transmitters really aren’t that great, and sooner or later you’ll want the control and flexibility of a true programmable transmitter.
Model Memory
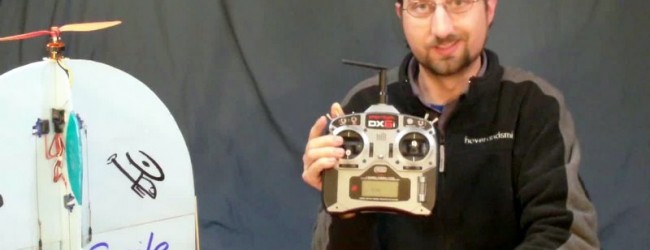
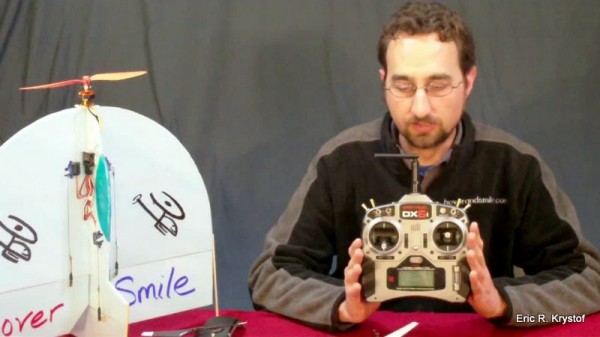
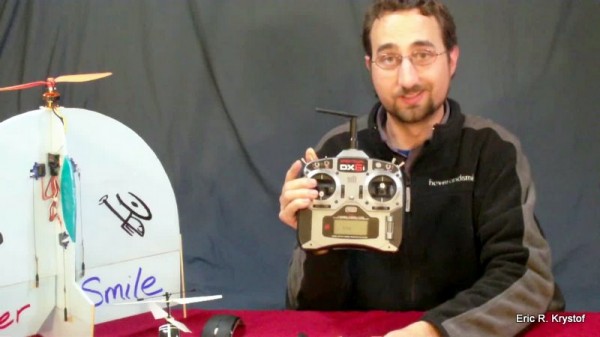
This is where model memory slots come into play. The more advanced programmable transmitters like this DX-6i generally have ten or more memory slots to bind with (in this case) ten different receivers, one per model memory slot. Each slot has its own unique settings as well. One slot can be set up for a helicopter, while another slot can be used for an airplane. That’s why model memory is so convenient.
How exactly do you bind a transmitter with a receiver? Well, there are some differences between vendors, from Spektrum, Futaba, JR, and so on, but the idea is very similar. First, you’ll need an empty model memory slot on your transmitter to store your receiver’s unique ID, so let’s set that up now. We’ll create a memory slot for our Blade mSR on a DX-6i and a foam flyer on our DX-7.
DX-6i Model Memory Creation:
- We’re creating a memory slot on our DX-6i to hold our mSR.
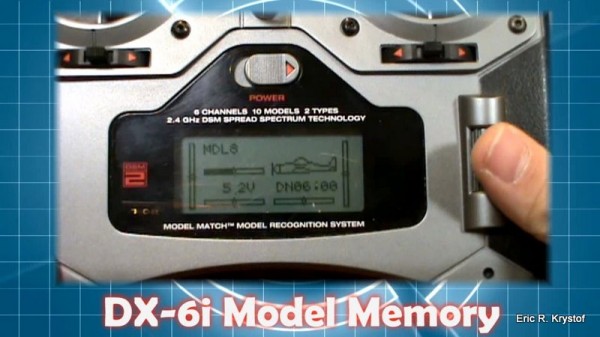
- Use model select to find an open model slot. We have an open slot number 8 here, and it’s defaulted to an airplane model.
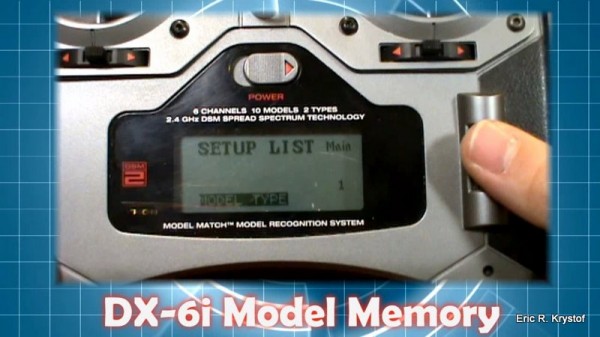
- Now click the thumb-wheel again, scroll all the way down and select setup list.
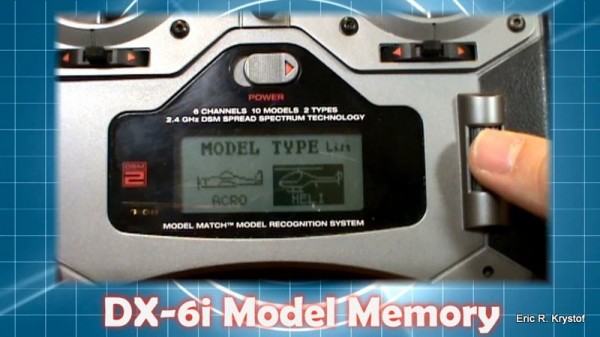
- Select model type, and choose helicopter.
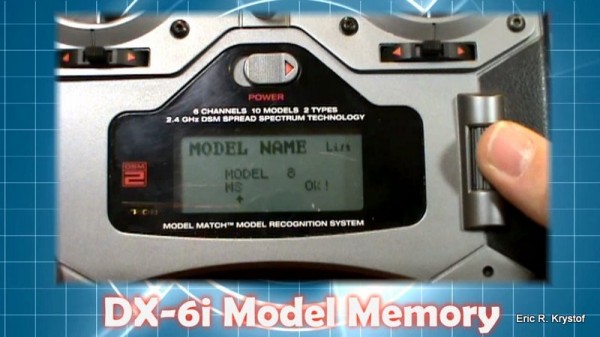
- Give your model a name. Scroll down to model name, press your button. Scroll through the letters, assign the characters, and then select Ok!
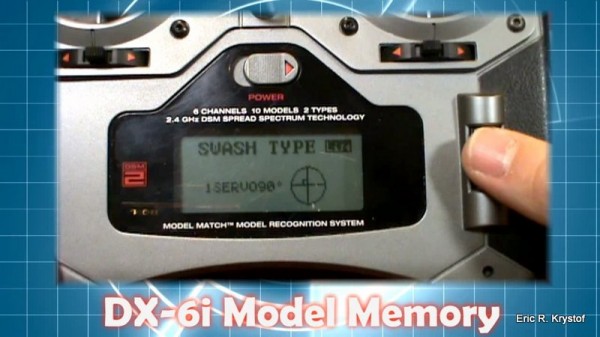
- Scroll down to Swash Type and make sure you have 1 Servo 90 Degrees selected. This is a requirement when binding the mSR in Helicopter mode.
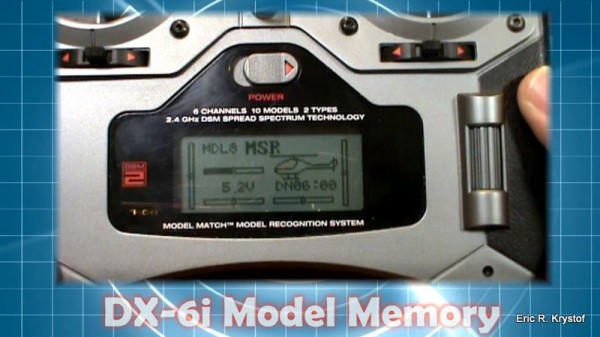
- Scroll back up to main, and you’ll see we now have the mSR slot configured. Turn your transmitter off with that model slot selected.
DX-7 Model Memory Slot Creation
- We’re creating a memory slot on our DX-7 to hold our foam flyer, an example of binding to a larger transmitter you’ll find on a Blade 400, CX3, etc.
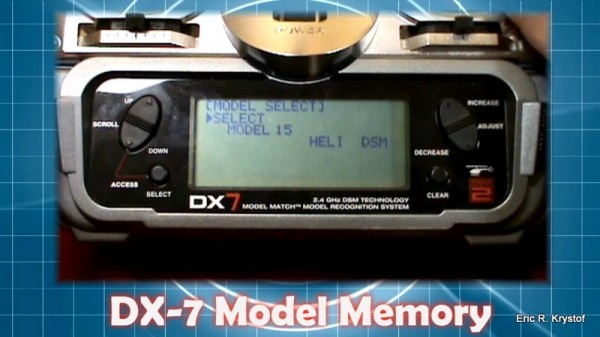
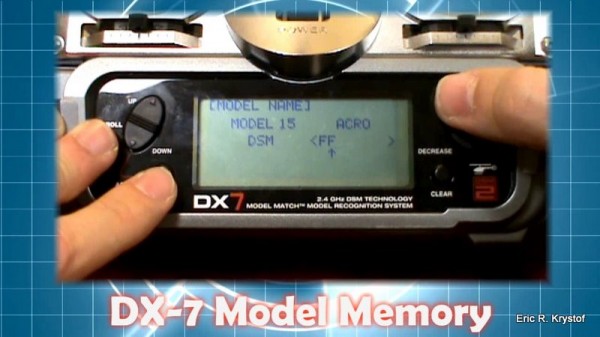
- Hold down your select and scroll down buttons at the same time. This lets you select which model you want to fly. We have a open helicopter slot on 15, so we’ll need to change this.
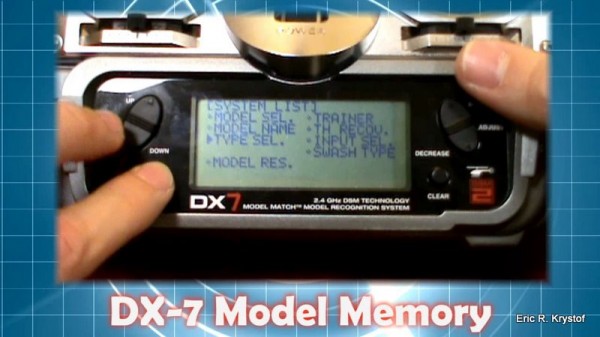
- Select and Up buttons take you back to the menu, scroll to ‘Type Select’ and select Acro for Airplane. You’ll have to confirm this with your clear key, as it will wipe out any helicopter related settings you may have had in this slot.
- Select and Up again, this time scroll to Model Name and give a name to this slot. We’re using ‘FF’ for foamie flyer.
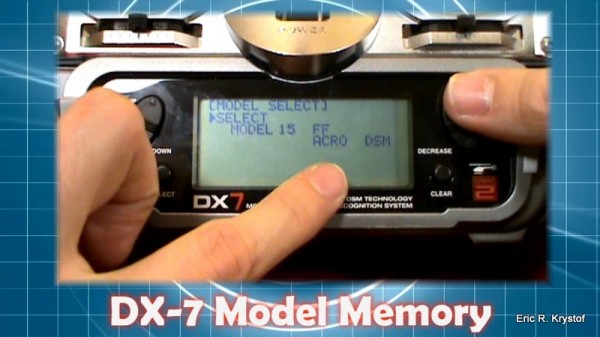
- Select and Up for the menu again, select model select and you can confirm you’ve now changed your slot to an airplane type with your given slot name.
- Then hit Select and DOWN to actually select this slot for the transmitter to use. Shut off your transmitter with this slot active, as when you enter bind mode, your transmitter will use this slot to bind with your receiver.
DX6i mSR Binding
Now that you have that completed, you must put your craft into binding mode. Spektrum transmitters usually have two different ways of setting a receiver to binding, and it depends on the size of the receiver. For the small receivers used in the Vapor, Micro Mustang, mCX or mSR, you place your aircraft in bind mode by simply having your transmitter off, then plugging the battery into your aircraft. Since the receiver isn’t detecting it’s currently bound transmitter, it will automatically enter bind mode, with a blinking light which basically means it’s waiting for you to down your drink, walk up to the bar, and ask for its phone number.
Let’s bind our mSR. We have a model memory slot created for it on our DX-6i, and the transmitter was last shut off with that model selected, which is the slot the transmitter will use when binding, so make sure it turns on with our new mSR slot selected. With the mSR in binding mode, hold the ‘training switch’ forward while turning on your transmitter. You’ll see the word BIND flashing in your transmitters display and hear a constant string of beeps. Let go of the training switch, and your transmitter is now in bind mode, just like your receiver. Let a few seconds go by, and you’ll see that the blinking LED on your mSR has turned solid, and your transmitter is now controlling your aircraft.
Remember that when you fly your craft again, you don’t want to enter bind mode every time. Therefore, turn your transmitter on FIRST, make sure you have the right memory slot selected, then turn on your mSR. The same goes for your larger receivers as well. Unless you’re binding, your transmitter is the first item to turn on, and it’s always, regardless of binding, the last thing you turn off.
DX7 Foam Flyer Binding (Larger Receiver)
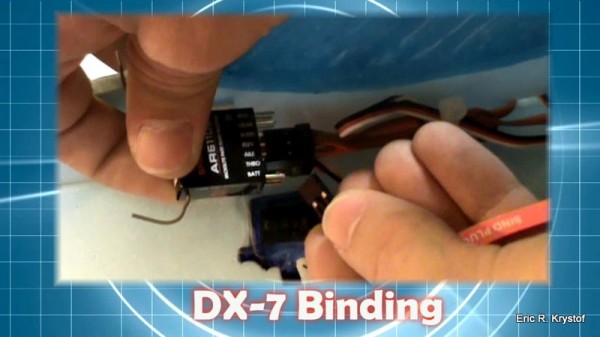
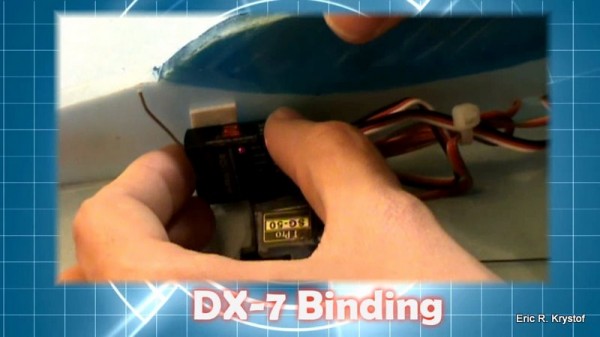
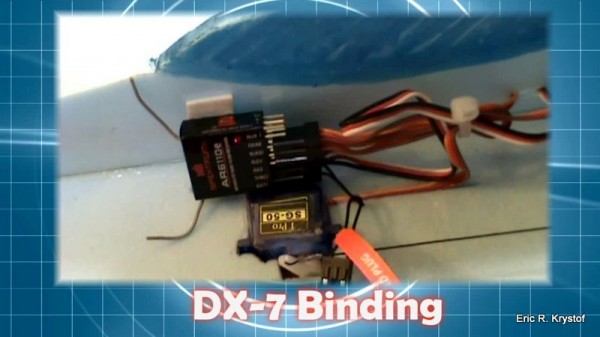
Larger receivers often require a bind plug to put the receiver into bind mode. Bind plugs are usually shipped with a receiver, and for Spektrum models we place the bind plug in the channel marked ‘BATTERY’, or ‘BATT’ for short. Make sure your transmitter is off, then supply power to your transmitter and you’ll see it’s ready to be bound, and in our case the small LED is blinking rapidly.
Now that our receiver is in bind mode, we need to turn on our transmitter in bind mode to talk to the receiver. To do this on the DX-7, push the BIND/RANGE TEST button on the back of your transmitter, then turn your transmitter on. Let go of the bind button (it will flash green), and within a few seconds you should have control of your craft with your transmitter. You can test that generally by moving the aileron and elevator control and see that servos are responding. Remove the bind plug, and power off your unit. You’re bound… hopefully not gagging.
Besides binding different receivers to the same transmitter, you can also bind the same receiver into different model memory slots of your transmitter. In case you’re wondering why we would want to do this, consider the case of these foamie flyers. I may have two different foam flyers I use, and I may only have one receiver available at the time. If I setup two different model memory slots for each craft, I can simply remove it from one craft and put it in another, and all I have to change is which model memory slot my transmitter is using and rebind, so keep those bind plugs handy.
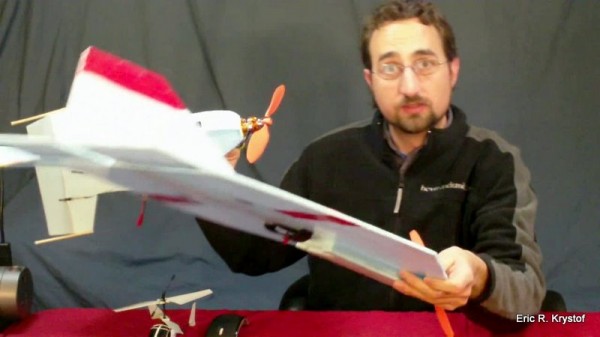
Use multiple memory slots if you move a receiver from one craft to another. You still need to rebind though!






8 Comments
Glenn Richards
07/07/2011
Great article Eric… I’ve just bound my Blade MSR to a DX6i using your steps & it was fairly straight forward, although I had a little trouble entering the ‘Model Name’ section, but using both the DX6i manual, & your instructions, it was soon accomplished… Binding the MSR using your steps was a snap..Dead easy, just as you said… Might I also add that the DX6i makes the control & stability of the MSR far superior to the standard DSM4 tx supplied with the heli.. I normally fly with a Mode 2, & was supplied with a Mode 1 DX6i (GRRR), but I must say that I’m quite getting to like the Mode 1 control characteristics, & may even persevere with it before I think of converting it to a Mode 2.. Once again, a BIG thankyou for a very informative article… Glenn Australia
Eric Krystof
07/07/2011
My pleasure, Glenn, I’m glad you’ve got it bound to a more versatile transmitter than the stock one! As for the modes, there are some online hacks somewhere on converting your TX to mode X to Y, as I’m sure you may have found, and if you do open that puppy up, good luck and watch out for the little wires and cables!
Take care, and I’m glad we could help you hover and smile! (It’s Friday, I’m allowed to be cheesy on Fridays)
Guillermo Limo
07/07/2011
Eric, very good explanation for the model memory. But my problem hasn’t been solved yet, What I need beyond biding 2 receivers or more (on the same toy structure) is to drive them separately at the same time. This is not an aircraft, boat or car model.
Any idea? or do I have to use 2 tranmitters for a single toy.
Thanks
Eric Krystof
07/07/2011
Guillermo,
You win the interesting question of the day award, no doubt about it. I need to do some more general research, but specifics may come down to it. What specific make and models of transmtiters and receivers are you using? I’m wondering off the top of my head if ‘model matching’ transmitters may handle it differently.
I assume your project is not something where you’re just controlling one item with a lot of receiver output, but two remote objects that aren’t linked together, each with one receiver, but wanting to use the same transmitter? If you could give me a little more detail as to whether or not the receivers are in the same circuit or not, it may help some research.
Hope to hear back from you so we can tailor a possible solution if one exists for your specific hardware used, or find an alternative!
Leon
07/07/2011
Hi Eric. I want to buy an mSR BNF and would like to use my DSX7 DSMJ modulation TX. What are my options if any?
Eric Krystof
07/07/2011
Leon,
It’s my understanding that the DSM-J is a specialized unit for the Japanese market due to some regulations over there. From what I’ve read, they are not going to be compatible, but given there are different versions, what you’ll need to confirm is whether or not whatever version you own is DSM2 compatible. Look for that keyword. If you have DSM2 compatibility, your helicopter and transmitter should get along just fine.
I hope that helps, and I hope it works!
Leon
07/07/2011
Eric. Thanks for the quick response. DSM-J and DSM2 are not compatible. So I guess my only option is going to be to order the Blade mSR with the 4 ch TX. Fitting my own receiver at 5.5g will probably be loading too much weight onto the little bird – on top of the complexity of connecting it – Leon South Africa
Eric Krystof
07/07/2011
No problems, Leon, sorry that they’re not compatible. Don’t hesitate to try the mSR on a dx6, dx7, dx8, or another DSM2 compatible transmitter if you can, as the stock one works, of course, but it’s just not as flexible on the rate programming.
Either way, have fun and good luck!
No trackbacks yet.